

Oil Painting Flowers Using The Flemish Technique
Well, I never thought I’d take so much time painting a flower of all things…
but, since I’m trying to get as realistic a look as possible I didn’t want to rush either…oil painting in this way requires a lot of drying time you know…
at least that’s my excuse…
This is the latest oil painting I’ve been working on using the techniques of the old masters…
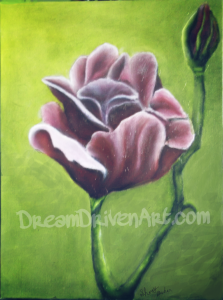
This rose was painted on a 12 x 16 inch canvas board and unframed at the moment….there are prints of this and more available, but I’ll get to that later!
As for the original, I’ve added the works in progress photos I actually remembered to take during the steps of oil painting…probably because I had to stop at certain points to let the paint dry, lol.
Otherwise, once I’m busy working on something…well, I get carried away and the world around me ceases to exist.
Painting in Oil Using the Flemish Technique
There are many different ways to paint with oil paints and even the same techniques I’ve found such as the Flemish Technique can be adapted to the artist’s preference on things such as drying times…at least to a point. I’ll get to that in a minute though…
The Flemish technique is basically meaning painting in several layers and can be quite daunting to try when you see all the steps that have to be done in order to complete a finished painting…it takes some time, but it’s not as hard as you might think.
The thing that takes the most time is actually…
waiting for the paint to dry!
Steps of Oil Painting
The Drawing or Outline
This is the first thing you’ve got to do if you really want it to look like whatever you’re trying to paint. You need a basic outline on the canvas first…even many of the great masters did this!
How to draw on canvas and with what?
There’s a few options you can choose to do:
- Draw on paper first – then use carbon paper underneath your drawing as you trace over the whole outline usually with a pen….or,
- Use a pencil on the back of the drawing and scribble away…cover the whole back of your drawing with pencil and it’ll work just like using carbon paper. Then do just as you would in the first method…trace over the whole outline on the drawing with a pen (or a blunt-pointed object) and there you’ll have it!
- Draw it free hand – a little risky, but it depends on your drawing skills…just draw very lightly, so you can barely see it at first, then darken it a bit…oh, so important to darken the lines as I’ve learned from stupid mistakes…
- Use an image projector – well, first you still need the image of what you’re painting…so, either use a photo or use the drawing you made.
Which one did I use for the Twilight Rose painting?
Well, I figured it’s just a basic outline is all that is needed… So, why not just draw it freehand? And, with that thought in mind, I drew it free hand, very lightly on the canvas mind you.
But, here’s my stupid mistake…which I’m mentioning in hopes that you avoid doing it too!
I forgot to make it darker or maybe I used the wrong type of pencil…Oops! A regular pencil works, such as an HB or a good old #2.
Or, you can even use ink or a thin paint if you wish to go over the outline…just make sure it is dry before moving to the next step. I still have to try using ink or paint to do an outline though, so I’m not sure of the results, but it’s something some artists prefer doing.
Anyways, a long story short…after doing the next step here, the imprimatura layer, my drawing completely disappeared!
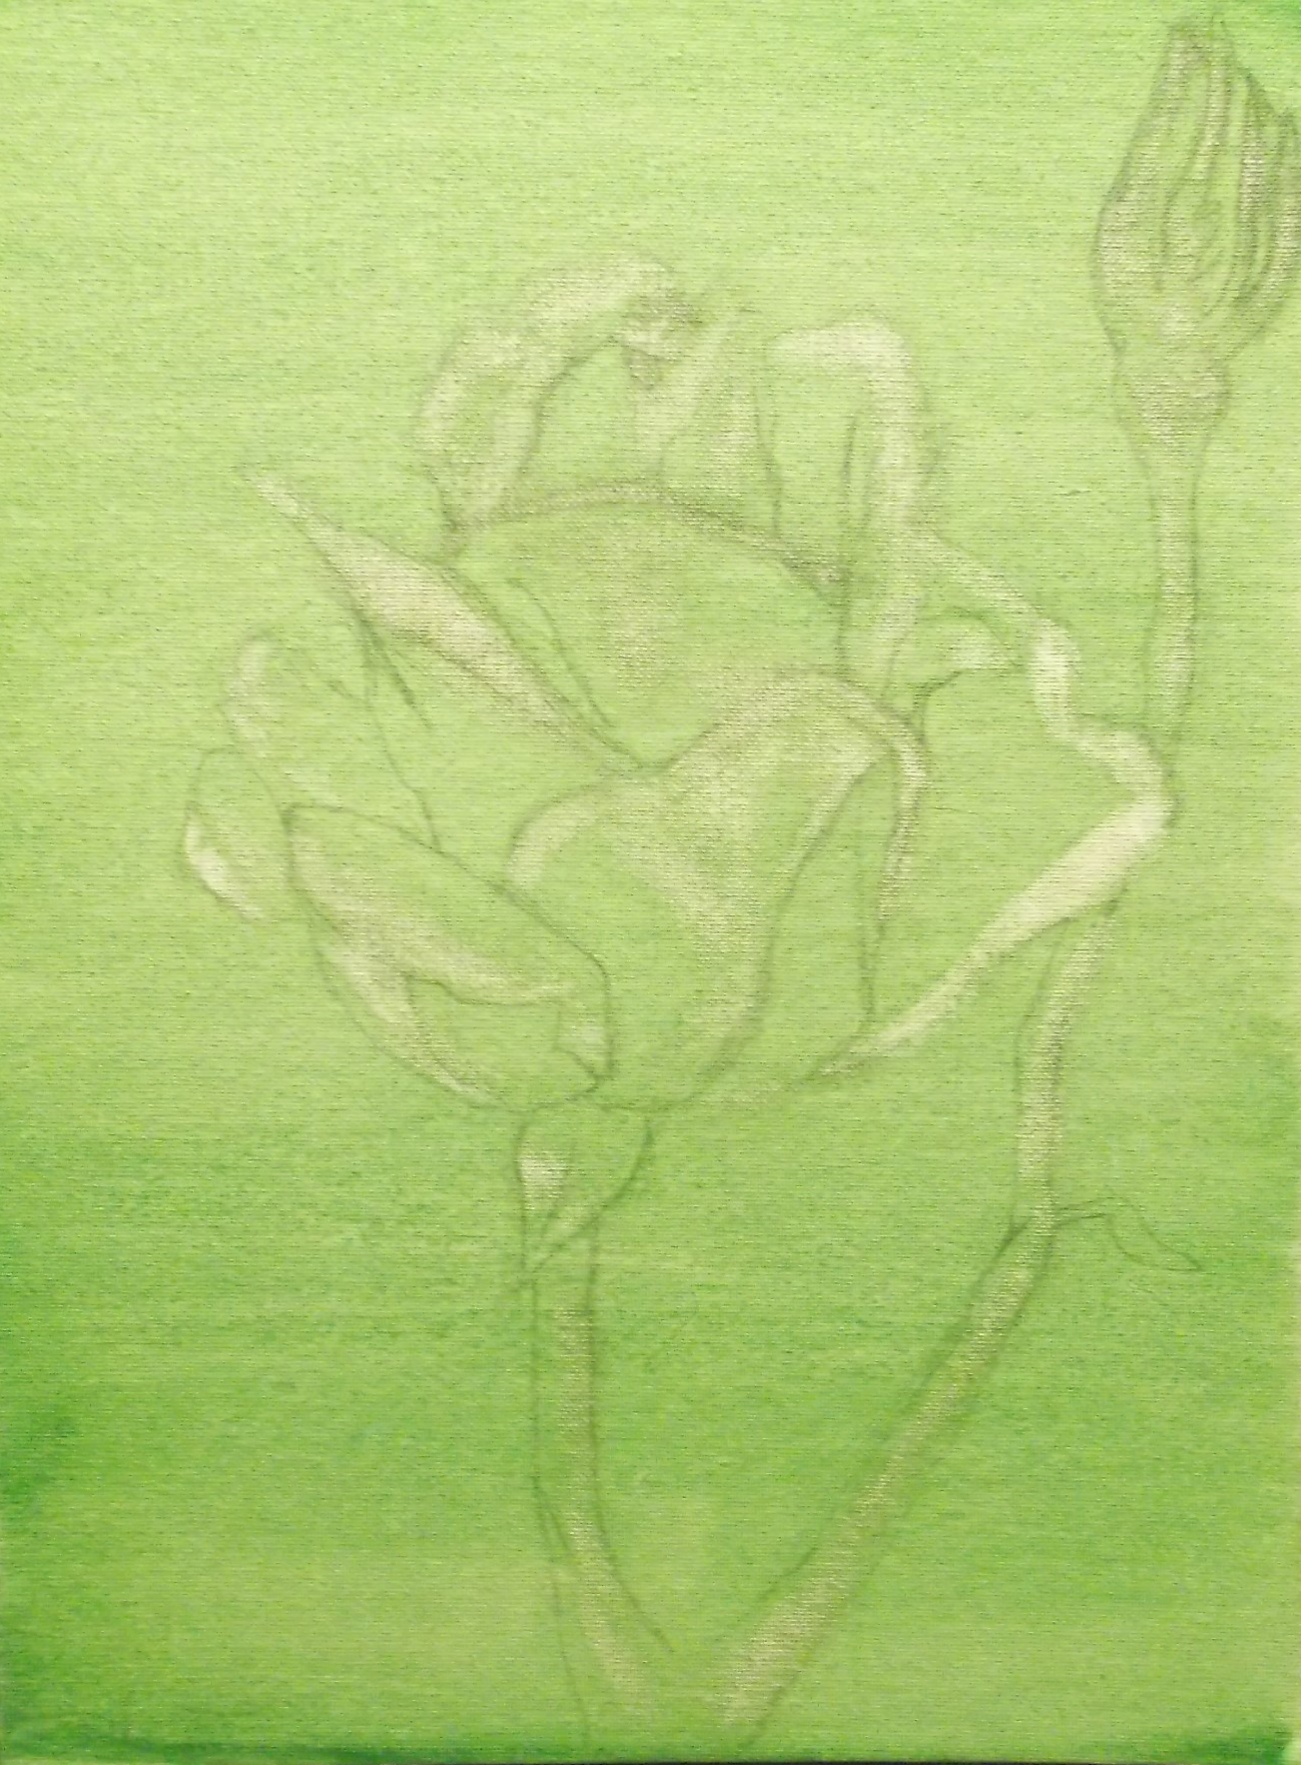
So, what I ended up with was a beautiful sort of light olive canvas…and, not a trace of the drawing! Imagine the horror…all that time spent drawing oh, so carefully, so as not to mess up…gone, all gone…
So, of course, what I ended up doing was drawing it all over again, but this time on the painted canvas…
Well, somehow I got it pretty close to what it should look like…good enough to go with anyways and on to the next step…yes, I was impatient to get started with actually painting!
The First Step of Oil Painting – The Imprimatura Layer
When beginning the Flemish technique it requires you to start with a first layer of paint called the imprimatura layer, which is basically an olive-hued layer of paint added to the whole canvas.
This one basic layer will take about a week or so to dry…
but, then again it doesn’t HAVE to be this way.
It doesn’t have to take a week or more…
You can get the same result by using Acrylic paint (gasp!) for this first layer and cut down drying time to about 30 minutes to an hour or so…it depends if you add any kind of other medium to it, but I just added a tiny bit of water to make the paint really thin.
One thing I should mention about this layer…and I want to make it transparent here…
Make sure you can see your outline under the paint…test a small area of the canvas where your outline is first! Don’t do what I did…and lose your whole drawing!
Add enough water to make the Acrylic paint transparent or see through. You should be able to see through it to your palette underneath after you’re done mixing it. **(If you’re using the traditional Flemish method and using oil… add linseed oil not water!)**
Let it dry! Painted surface should feel dry to the touch before continuing…
Next, you need to put a thin layer of linseed oil on your whole canvas and wipe off any excess oil with a clean, dry rag. And, then…guess what?
You can break out the oil paint! Woohoo!
Well, one tube anyways….but, hey you’re off to a great start!
The Second Step of Oil Painting – The Umber Layer
The umber layer, which is also known as the underpainting, is the foundation of the oil layers that will be added later.
Which color do I use for the umber layer?
Sure, maybe it’s obvious to some…but, maybe not to the beginner who is just starting out…
Burnt Umber Oil Paint is what most artists use on the Umber layer…or, at least those I’ve been researching so far.
This layer is actually one of the most important parts of the painting…it sets the whole tone for the evening…ahhh, rest of the layers.
And, it’ll turn out something like this…
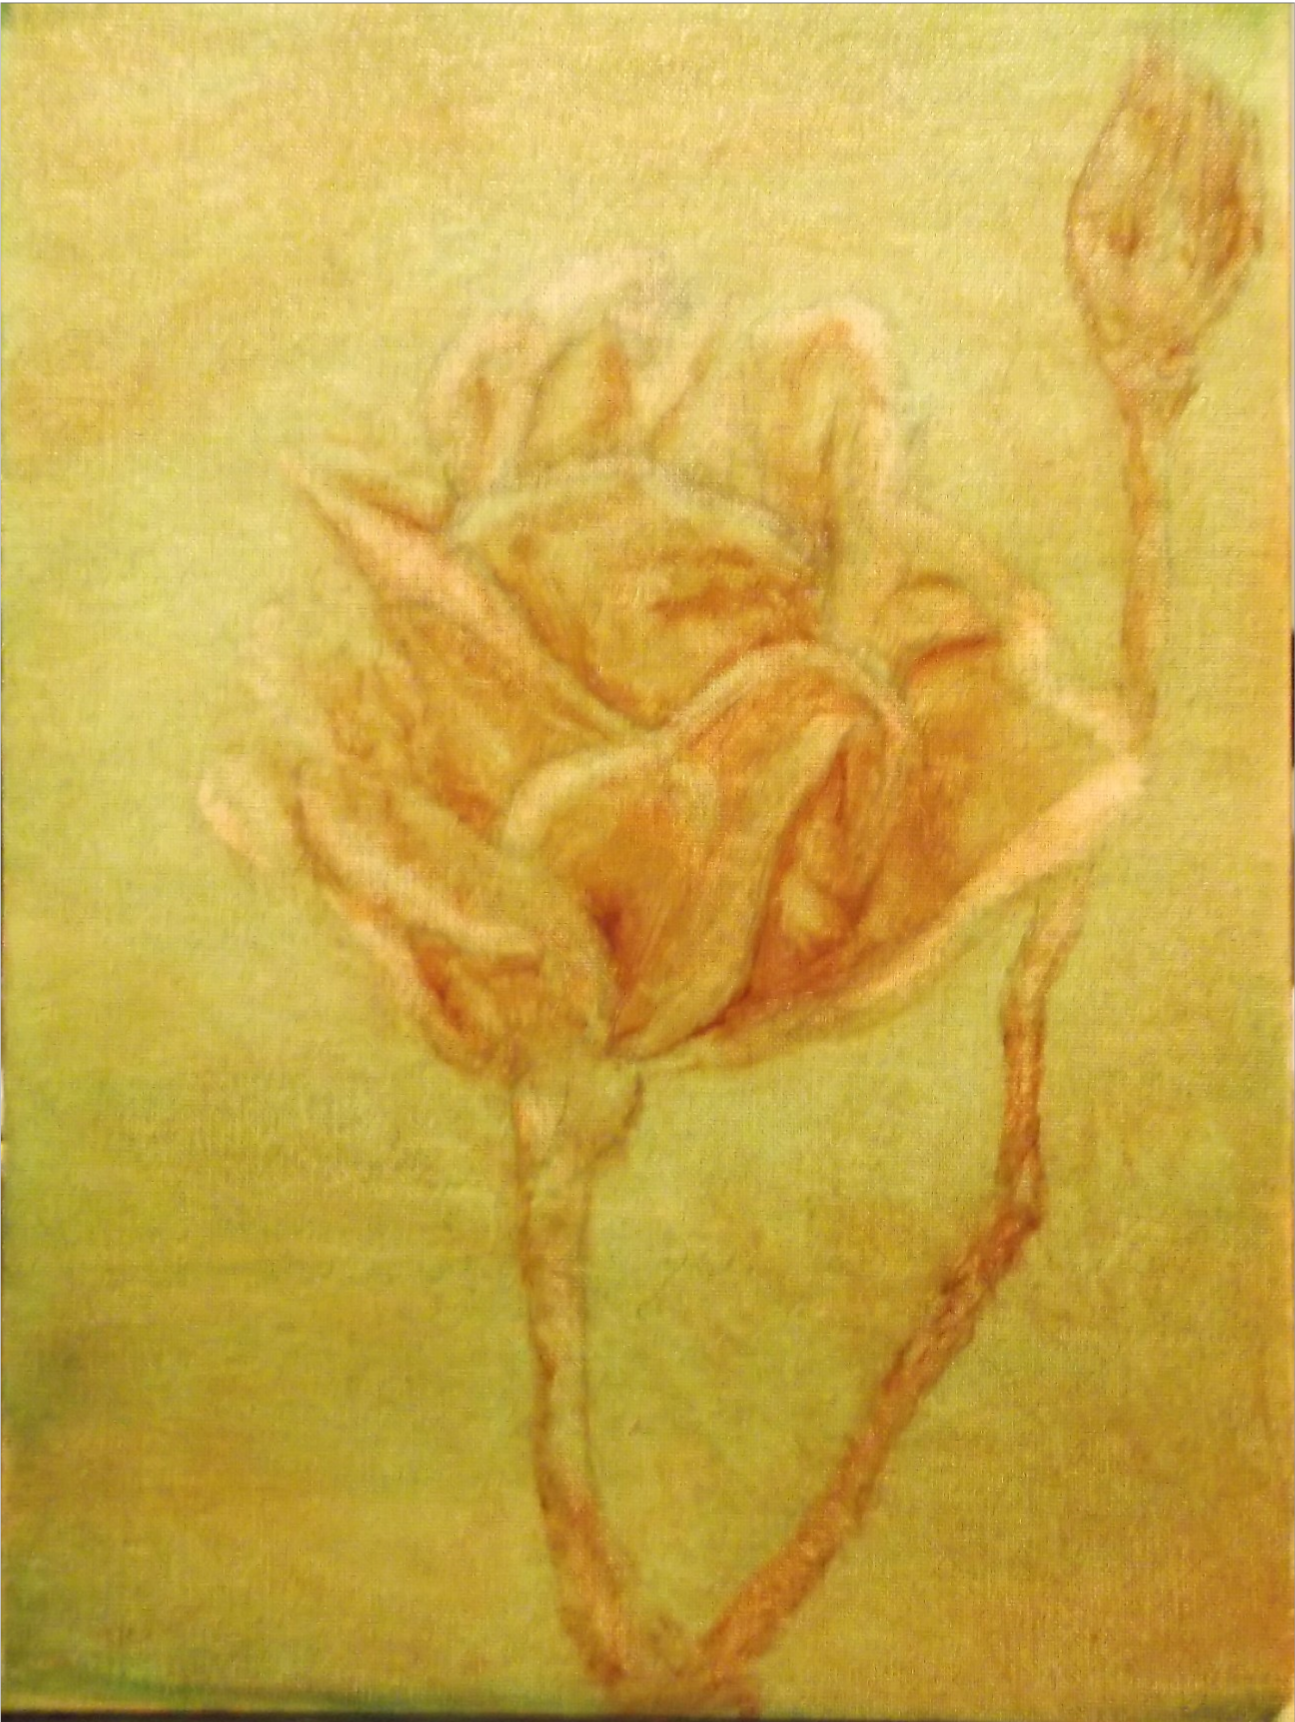
This layer is basically setting out the tones from dark to light in a thinned out, transparent burnt umber oil paint. For this step, I just used a tiny bit of the burnt umber oil paint mixed with a bit of linseed oil to make it more transparent.
Remember, there is already the wet oil on the canvas, which will make it go quite smoothly. I’d suggest trying out your paint mix in the darkest toned corner of the background of the painting first. That way you can see how transparent your mix of the umber paint is without ruining your drawing…
Remember: Once you start with oil paints the pencil marks will get lost!
Starting in the darkest area of the background you can always add more paint if it’s not dark enough, but if you start in the lightest area and it’s too thick yet, then you’ll lose that lighter area…unless you wipe it all off with a rag and start again.
Anyways, looking at this in hindsight, I probably could’ve made the bottom right corner a bit darker…and some of the areas in the rose too…oh, well. It still got done!
Once you get to the actual subject, such as the rose here, then look at your reference photo or drawing and see where the shadows lie within it. These areas will need the darker tone than the rest…where it looks black on your reference photo. These areas won’t matter too much if you can see through the paint as much, depending on how you want it to look.
Now, the light areas…keep the paint thin in these areas. Adding just a tiny bit of the paint mixture on your brush will do. Don’t worry…it’s not as hard as it sounds and like I mentioned using a clean rag will wipe it off. Or, if it’s a tiny spot that has too much paint, use a corner of that clean, dry rag to dab at it and it should take some of the paint out.
So, there it is…block in the tones like this with the umber layer and you’ll be off to the next step!
But, do let this dry first, before going on to the next step…it might take a week or so depending how much linseed oil you added.
The painting should feel dry to the touch before moving on to the next layer of paint!
The Third Step of Oil Painting – The Dead Layer
Sounds rather sinister doesn’t it? No, there’s nothing dead that you add to your paint!
The dead layer or grisaille is yet another layer over the previous two layer of oil paint, but in shades of grey with black on one end of the spectrum and white on the other.
Yes, you need to paint over everything you just painted again…but using two colors this time, mars black and titanium white, and blending them together to make the different shades of grey.
This is what it should look like once you get the subject of your painting done in these dead layers…
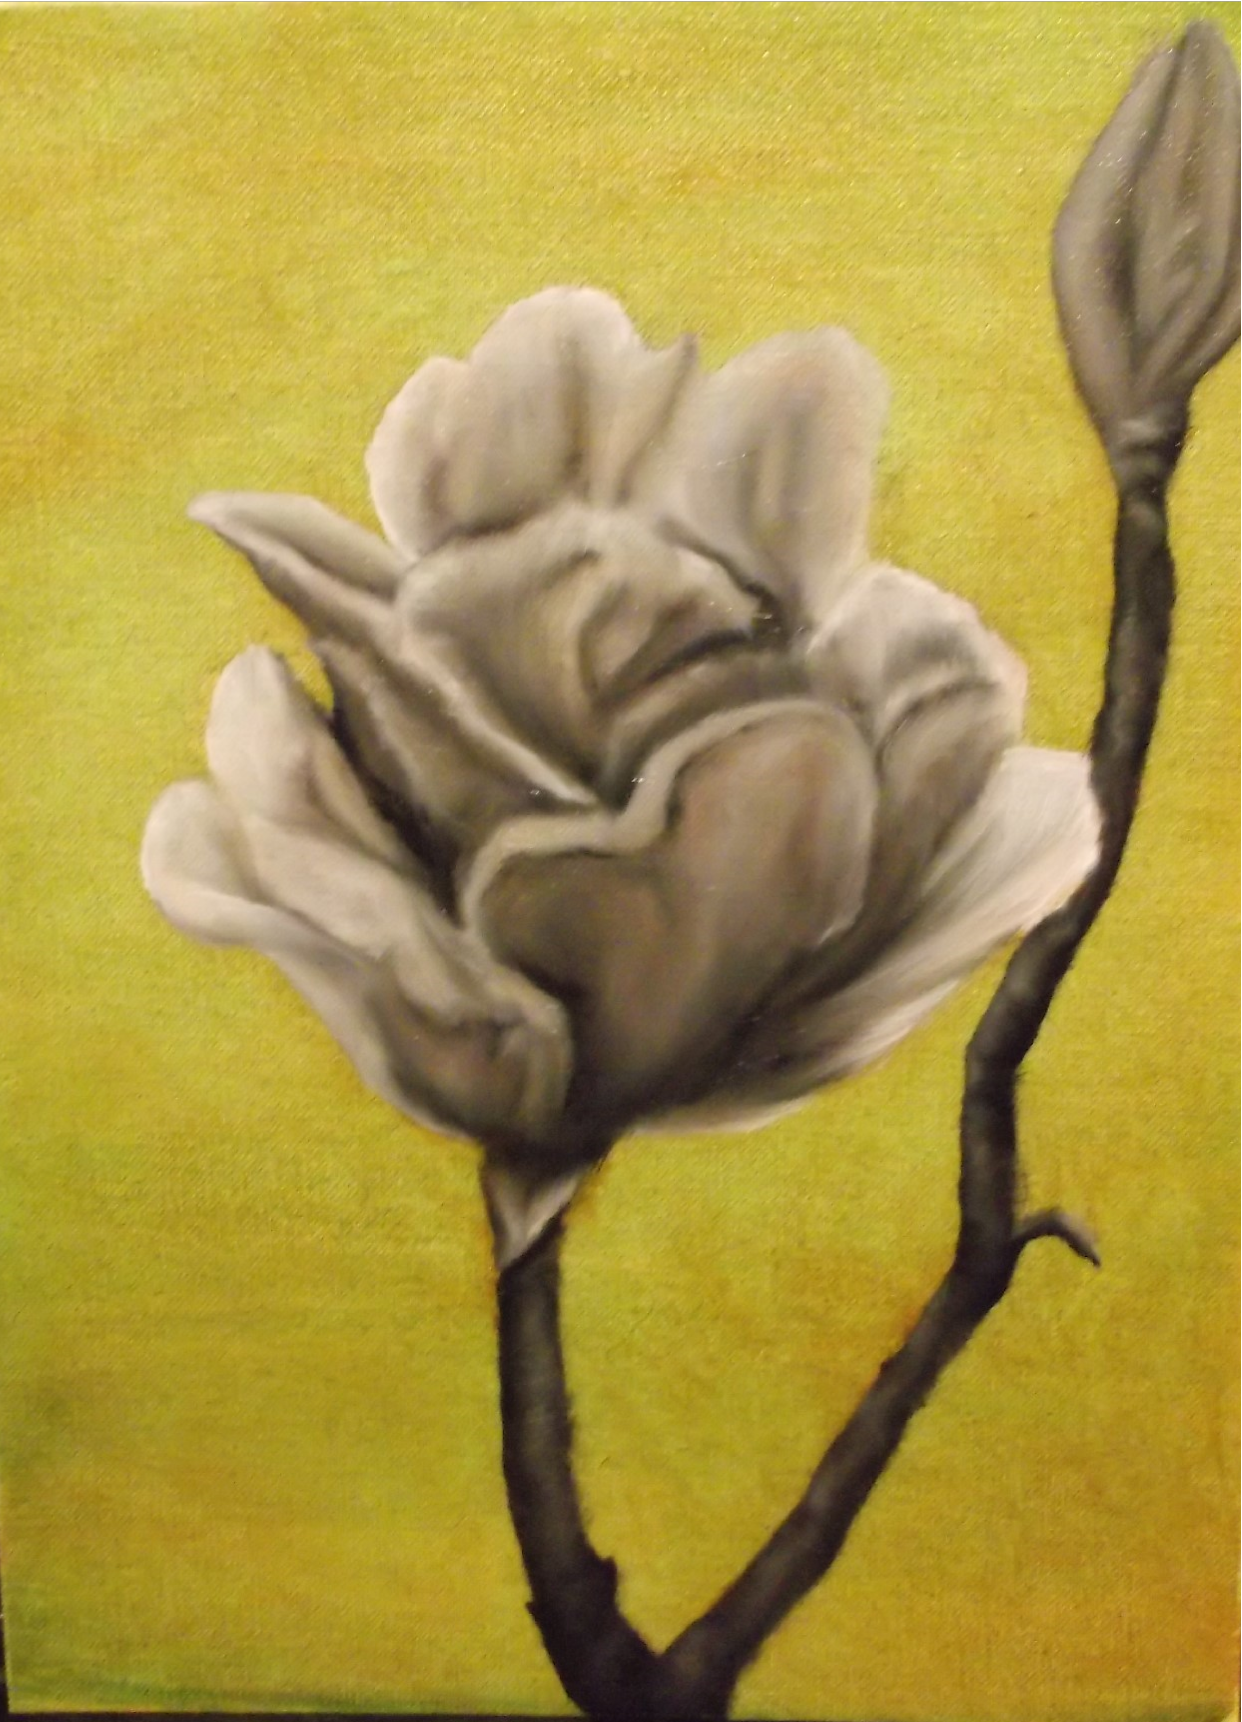
Start with the actual subject of your painting with the dead layer, not the background. But, you do need to also do the background afterwards in this fashion before adding color to it.
Remember to keep the dark tones more transparent and the white or lighter ones a bit more opaque. In other words, use thicker paint for the white areas. Notice, you can still see the color showing through this dead layer if you look closely…
Ahem…I seem to have forgotten to take another picture of this when I finished the dead layer of the background. I knew it! I knew I’d forget something…
Anyways, before going on to the next step, remember to do the dead layer of the background too! The whole painting should be in tones of black, white, and gray….And, oh yes, LET IT DRY!
Well, we’ve covered the first three steps of oil painting using the Flemish Technique here so far…and the steps I took to paint my own oil painting using this method…
Try it out for yourself…and, I’ll be adding a second part of this post going over adding color and the finishing steps of the oil painting sometime soon!
If you made it all the way to the end here…Thank you for reading!
I hope this helps you out and gets you started on your own painting! If you have any questions, feel free to ask in the comment box below…
UPDATE!!!!
Want to learn the remaining steps of oil painting using the Flemish technique?
I recently finished the second part of this post, sooo…
⇓⇓Click the link below to finish reading⇓⇓
⇒>>Oil Painting Flowers Part 2!<< ⇐
*********************************************************************************************
Oh, and about those prints...
Choose what size you like, frame, and on a variety of surfaces including gallery wrapped canvas, metal, gift cards, tote bags, & more ….
Interested in buying a print to hang on your wall or learning what other items you can have this artwork printed on? Then please,
⇒ >>Click here to find out more<< ⇐
Best wishes 🙂 -Sherry