Pencil Drawing of a Sports Car – part 1
Hey there! Just thought I’d share what I’ve been up to lately…no, I didn’t die, lol.
And, actually this sports car is a drawing I’ve meant to share here for quite awhile and kind of forgot about it…just been way too busy with another project recently. So, sorry, I haven’t posted much here the past couple months, if anyone’s been wondering that is…
But, that doesn’t mean I haven’t been working on my art stuff…so, I thought I’d add this one to start up again here… finally!
I did remember to take some photos as I worked on it, so without further ado…
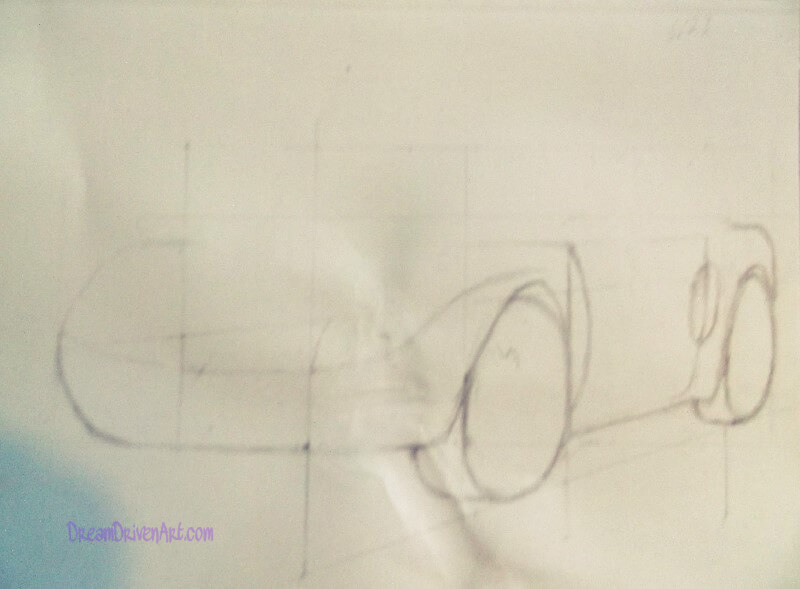
First – the Sketch
I’ve never drawn a car before, so I found out how to go about it through a very helpful video from artist, Mark Crilley, on YouTube
Yeah, gotta love YouTube, hey? There’s so much you can learn from there. Anyways, I’ll add his video below here as well, for anyone interested in learning how it’s done exactly.
First of all, the easiest way to draw a car in perspective like this one…like you’re viewing it at an angle…is to make some guidelines to go by first…
Oh, fun! (I’m being sarcastic, btw!) But, it’ll save you a lot of frustration in the long run…drawing a car in this viewpoint isn’t as easy as I thought.
Maybe that’s why the paper got a bit crinkled by the time I got to this point even, lol!
Actually, although the process was a bit tedious, I did have fun…once I got to the drawing the darn car that is!
Oh, and do draw these guidelines or grid lines in lightly!
You’ll need to erase them later…so, as in any drawing at the beginning keep a light hand on that pencil.
Second – Keep Working at it!
If you’re new to drawing a car, it’ll probably take a bit to get to this point…
Take your time and draw each part of the car in with pencil first. Don’t erase the grid lines until you’re happy with what you’ve done. Only erase them once you’re satisfied with your initial drawing.
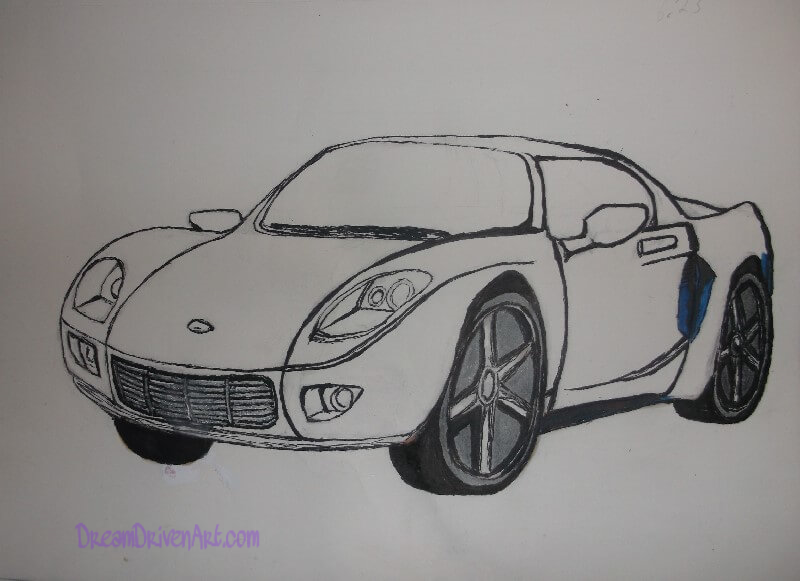
Once I got my car drawing to where I wanted it, I then used black Prismacolor marker to outline the whole thing.
And, as you can see, I added I tiny bit of color to this before I realized….Oops, I did it again!
Forgot to take a picture before going to the next step….again. Started coloring in the tires and a bit of the door…
Okay…maybe I suffer from CRS (Can’t Remember Sh**) syndrome, lol!
Anyways, on to the next step….And, the first video…
Below, is the first video from Mark Crilley on drawing this car… And, btw, Thank you for such an awesome, helpful video, Mark Crilley!
I found it very helpful, so I thought I’d share it here in case you wanted to give it a try…there is also a second part to this video that I’ll add to the end. The second video focuses on the coloring of the car…
And, yes, I know the color is different than the one I did…
I didn’t have the exact markers as Mr. Crilley, so I improvised. Plus, I wanted mine to be a darker color…and I did add a few differences in as I went such as the back end…I wanted a bit more of a fin-shaped area, so that’s what I did.
Third – Adding the Color

After outlining my car drawing in black marker, I then went on to adding the rest of the color shown in the photo above…btw, this photo shouldn’t be this color. It’s on white paper and no, I didn’t add a background color either…must be a setting either in the camera that was different or it’s in too much shadow. But, I’m not really worried about that for now, as this is not the final image of this car….
Using Prismacolor markers again along with Prismacolor colored pencils for some of the highlights. Believe it or not, the colored pencil, even white, will go right over the marker, giving the lighter highlights you see on the hood and fenders.
But, one thing to note too is to avoid putting color, or at least marker, where you know there is a pure white highlight. Just a touch of light blue colored pencil and you can blend it in using a blending stump. Add just a little at a time on the places that have a light color or almost white…
*Remember: it’s much easier to add more color if you need it, rather than try to erase it.
Well, I believe that is all except for that final photo of my car drawing…which I need to take yet!
So, I’ll be back shortly…
Here’s the next video that I followed to get this done…
Part 2 of Mark Crilley’s videos on “How to draw a Car”
Please come back soon to check out my final drawing….
no, the ones I did and shared above are not the finished drawing… as I mentioned, I forgot to take a final pic! (CRS strikes again!)
Hope you enjoyed the art and if you’re an artist like myself, maybe you even found it helpful.
Thanks for checking it out and if you have any questions or suggestions, please add them in the comments below or fill out the contact form. Let me know what you think…
I’d be delighted to hear from you!